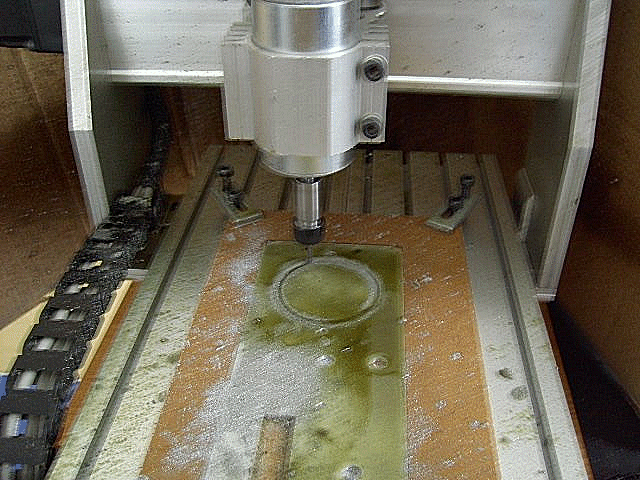

Front Panel Being Milled
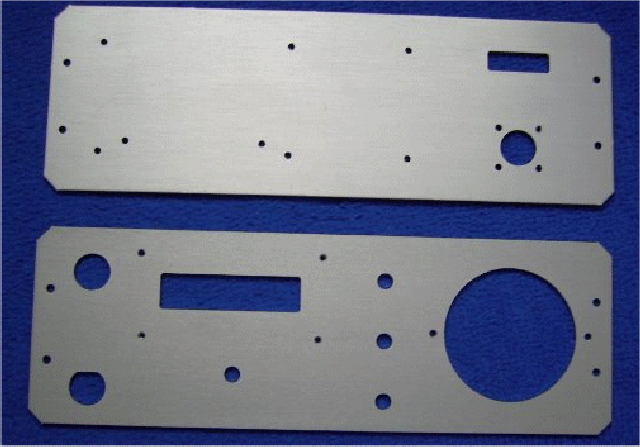
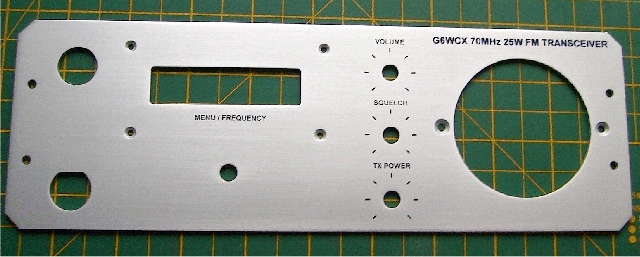
Milled Front and Back Panels
The front and rear panels were milled using a 3020T CNC milling machine from China. The mill is driven by UCCNC software running on windows 10. UCCNC comes with a USB interface to parallel port adapter. Please note you can not use a standard USB to parallel port adapter and UCCNC does not come with the mill. The mill is supplied with MAC 3 which only works with a parallel port. There is an alternative MAC 4 with a USB interface. I decided on UCCNC because MAC 4 was still in development when I was shopping around in March / April 2016.
I generated the drawings for the panels in proteus and exported them as Gerbers which were then processed in Flatcam to produce the GCode needed to run the mill.
It took around 2 hours to mill both panels. I used a slow feed rate of 100mm p/m and a cut depth of 100th per pass to reduce vibration and to ensure a clean cut. A 2mm end mill was used.
I also prepared the heat-sink using the mill to cut away the fins where they obstructed the screw holes and to drill the holes in the heat sink.
1.5mm thick aluminum sheet was cut and drilled to make a chassis for mounting the PCB's.
Silk Screening
The next step is to silk screen the panels. I have never done any silk screening so I had to find out how it was done. I watched a few videos on YouTube and the preceded to find a silk screen equipment supplier. I found a company in West Kingsdown in Kent not to far from me. The company is called Pyramid I got the equipment I need to do the job.
The first thing I needed to do was make a stencil. I was supplied with a mesh frame and some capillary film to make my stencil. The first thing you need to do after cleaning and preparing the mesh is put a photo sensitive emulsion onto the mesh so you can put your artwork on the mesh. Note this needs to be done in very low light or a yellow light. This is what the capillary film was for. I made numerous attempts but always ended up with poor adhesion onto the mesh. I decided to abandon the film and try putting emulsion directly on the mesh. I had to make another trip to Pyramid to get some emulsion and a tool to apply the emulsion. This worked well. Once the mesh has been coated with emulsion it need to dry I found about 4 hours in a warm airing cupboard worked well. The next thing is to place you positive artwork on the emulsion and expose it to UV light. The sun will do if its a sunny day. See YouTube for advice. I used a UV box I have for making my PCBs with photo resist. I found ~ 3mins was good for an exposure time with my box. Once you have exposed the emulsion you have to wash your image out under a high pressure water spray. I used the tape with my finger generating a spray. It worked OK. Once the image has been washed out I let it dry then exposed it again. This was to try to prevent under exposed area's forming which will cause screen lock when you want to reclaim the screen. I experienced screen lock and had to get a new mesh. its all part of the learning experience.
Now I have a good stencil I can print my panels. I encountered problems with the ink not being uniform over the metal. I have several attempts while getting advice from Pyamid who said it was down to the quality of my stencil. After many hours of frustration I spent an afternoon on youtube and found the answer. It was not my stencil. It was the height of my stencil above the print surface. I put a couple a mm between the stencil and print surface and first run was perfect. Please note you should use solvent based ink to print on aluminum.


